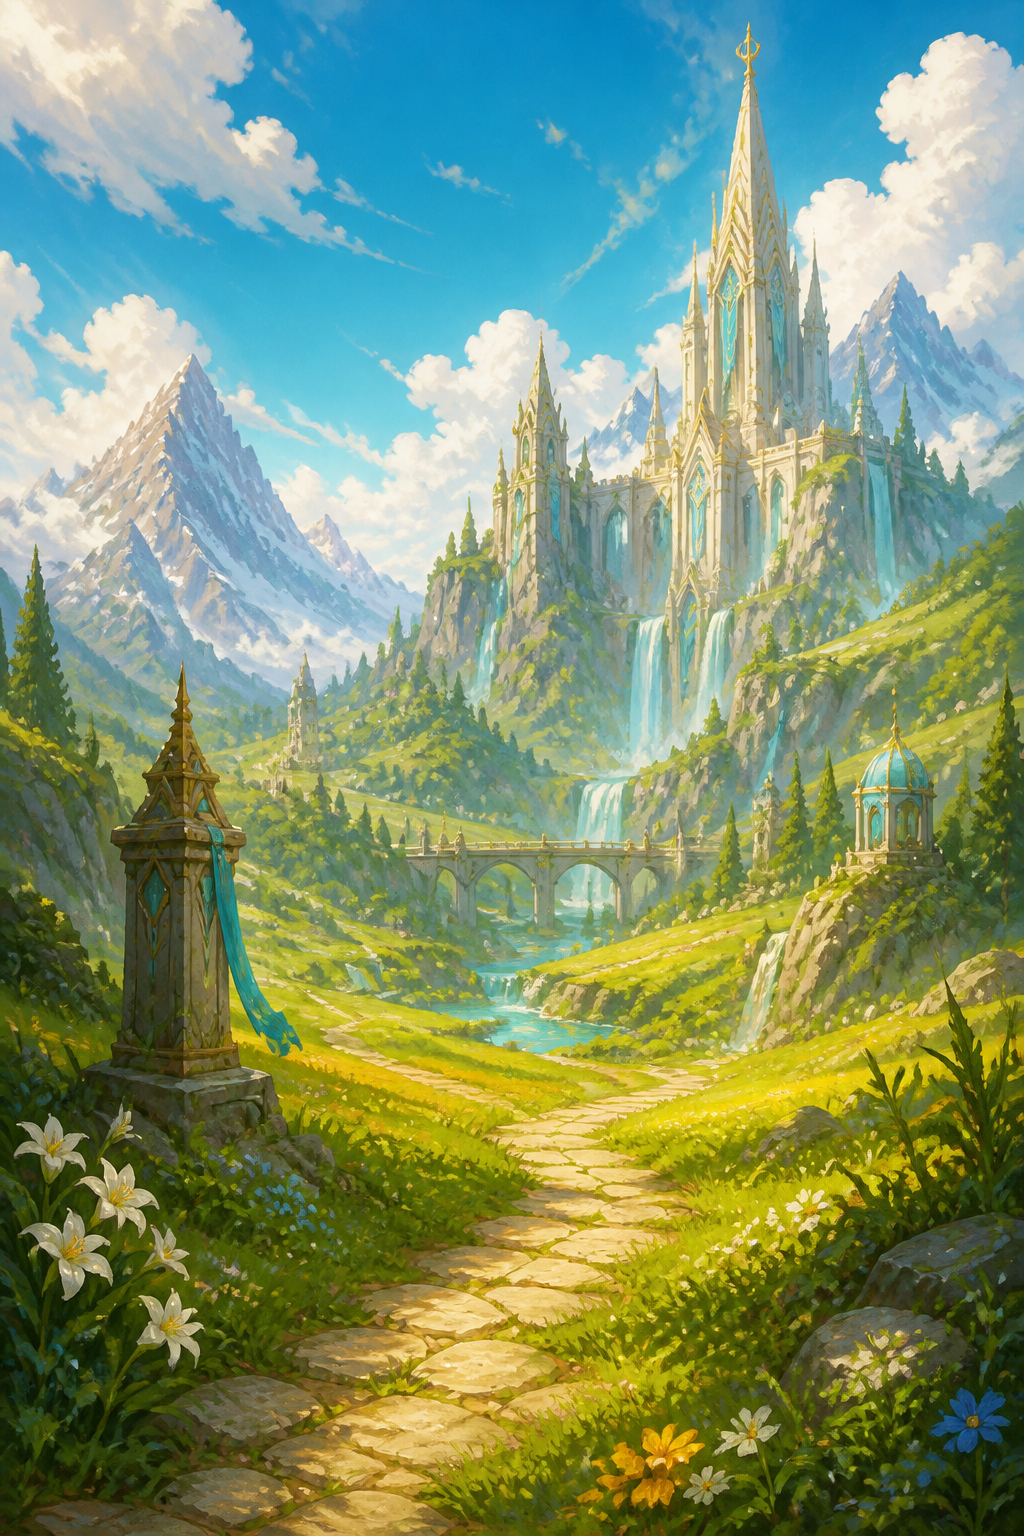
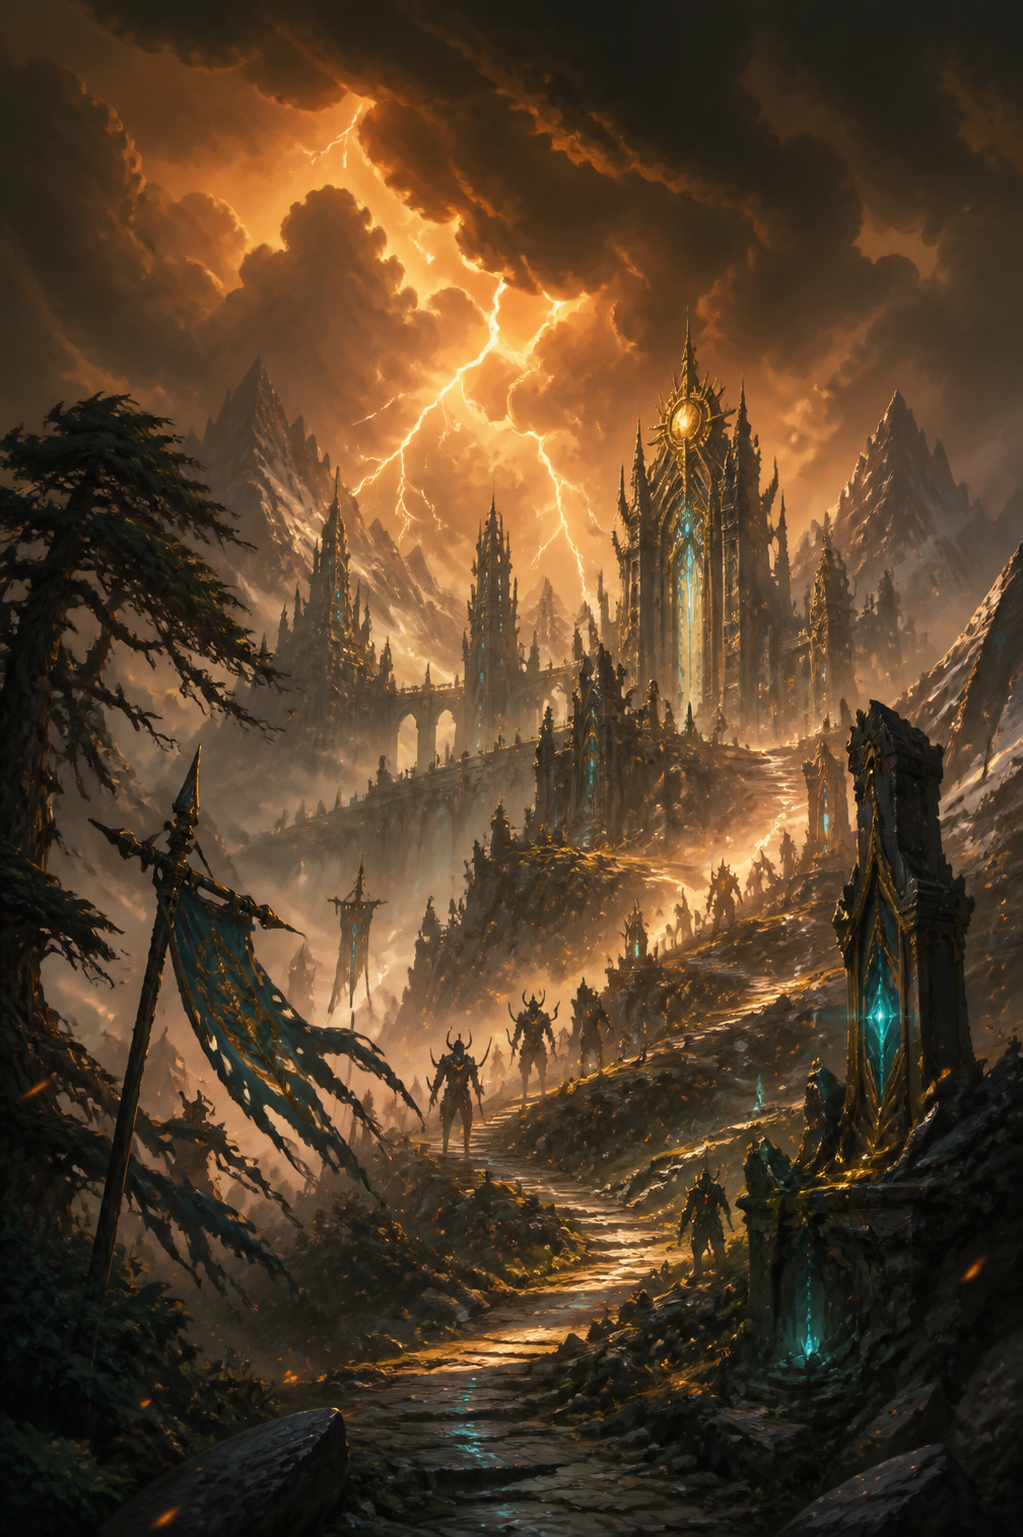
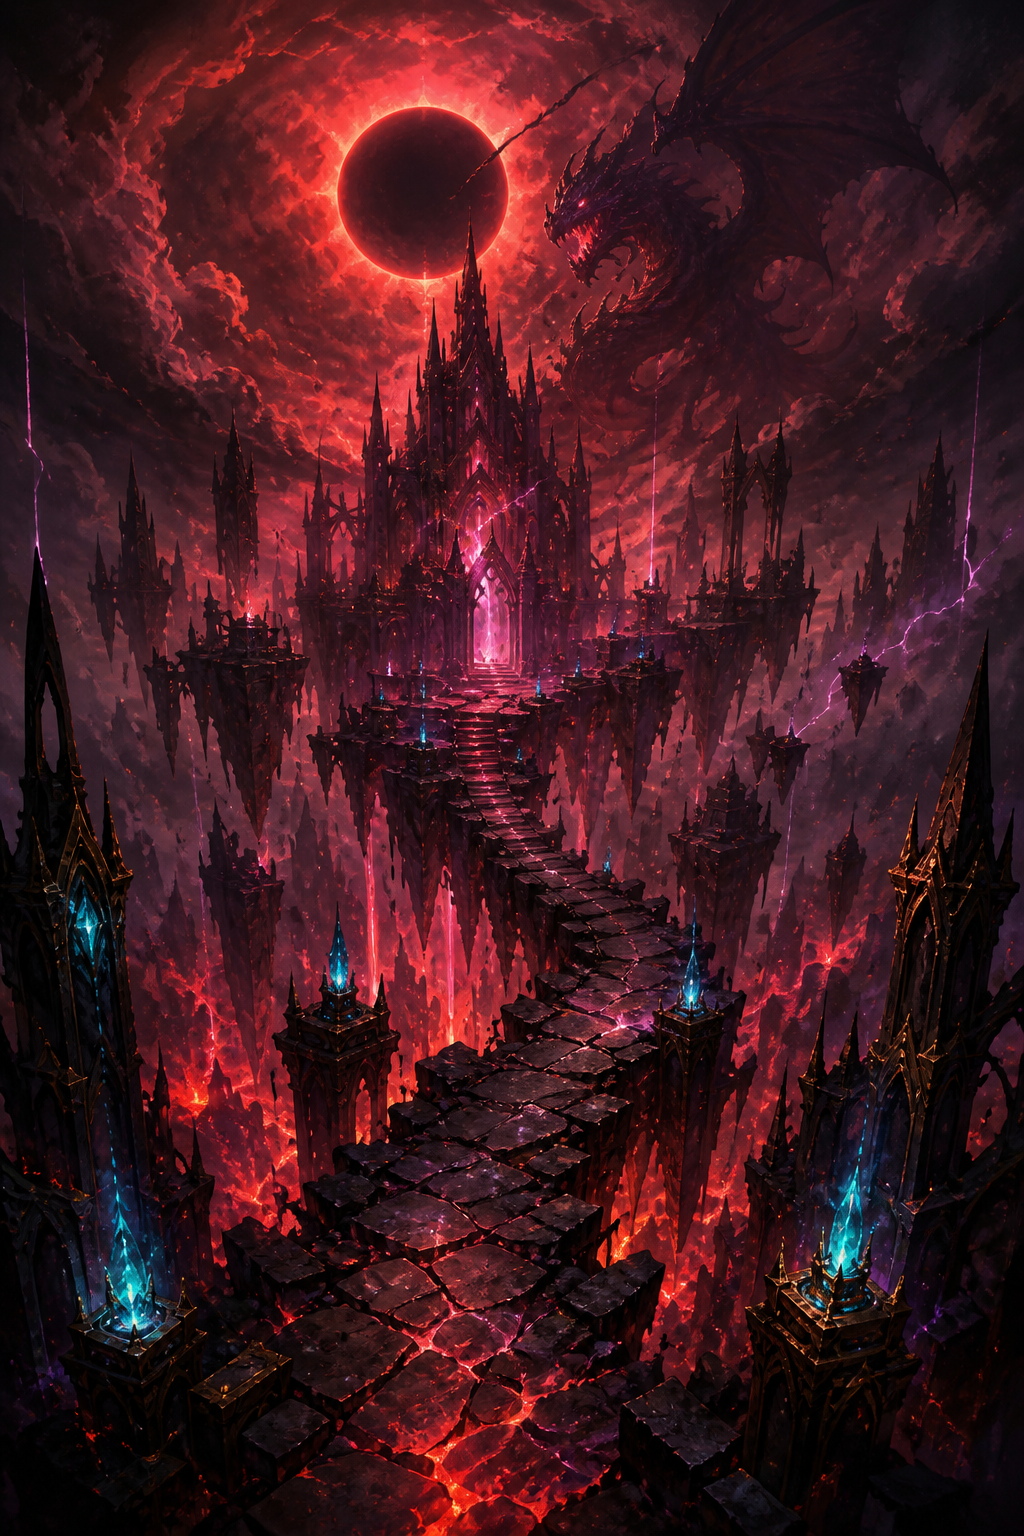
Discover the world, shape your hero and begin the hunt.
Equipment bonus tiersTier 1–2
Encounters
1 enemy per spawn point
Enemy strength
Original balance
Experience
Standard rewards
Gambling
Standard price
Stronger Normal equipment becomes available in later areas.
How to unlock
Available from the beginning.
II
For veterans
Despair
Return to a harsher world with denser encounters and stronger loot rolls.
Equipment bonus tiersTier 1–3
Encounters
2 enemies per spawn point
Enemy strength
×2 after baseline scaling
Experience
×2 after baseline scaling
Gambling
×2 price
Stronger Normal equipment can drop throughout the world.
How to unlock
Collect the Cursed Orb on Normal with this hero.
III
No mercy
Doom
Face the greatest enemy density and pursue the highest bonus tiers.
Equipment bonus tiersTier 1–4
Encounters
3 enemies per spawn point
Enemy strength
×4 after baseline scaling
Experience
×3 after baseline scaling
Gambling
×3 price
Stronger Normal equipment can drop throughout the world.
How to unlock
Complete Beneath the Chapel and collect the Cursed Orb on Despair with this hero.
A harder world. A deeper hunt.
Choose an unlocked difficulty when entering an offline world or creating an online game. Unlocks belong to each hero, with separate quest progress for each difficulty.
Enemy strength
Despair raises early enemies to at least Normal’s endgame baseline before applying its ×2 combat and experience scaling. Doom starts from Despair’s endgame baseline, then applies ×4 combat and ×3 experience scaling.
Life, defense, shields and damage grow with the challenge. Dungeon scaling and champion or elite bonuses can add more; Normal’s gentler dungeon damage limits fall away in higher modes. Individual encounters can have their own limits.
The density shown above applies to ordinary spawn points. Bosses and scripted encounters follow their own setup.
Loot and rewards
Higher modes unlock stronger random equipment bonuses. Despair favors Tier 2 rolls with a small chance of Tier 3. Doom offers much more Tier 3 loot and a rare chance of Tier 4. A higher tier improves eligible bonus values; it does not guarantee a particular item rarity.
Item rarity still depends on the drop source and Magic Find. Greater enemy density gives you more foes to hunt. Gambling costs rise with the difficulty.